Do a window comfort check before you shop for replacement windows
Document drafts, moisture, operation, shading, and room use before treating replacement as the only comfort or energy answer.
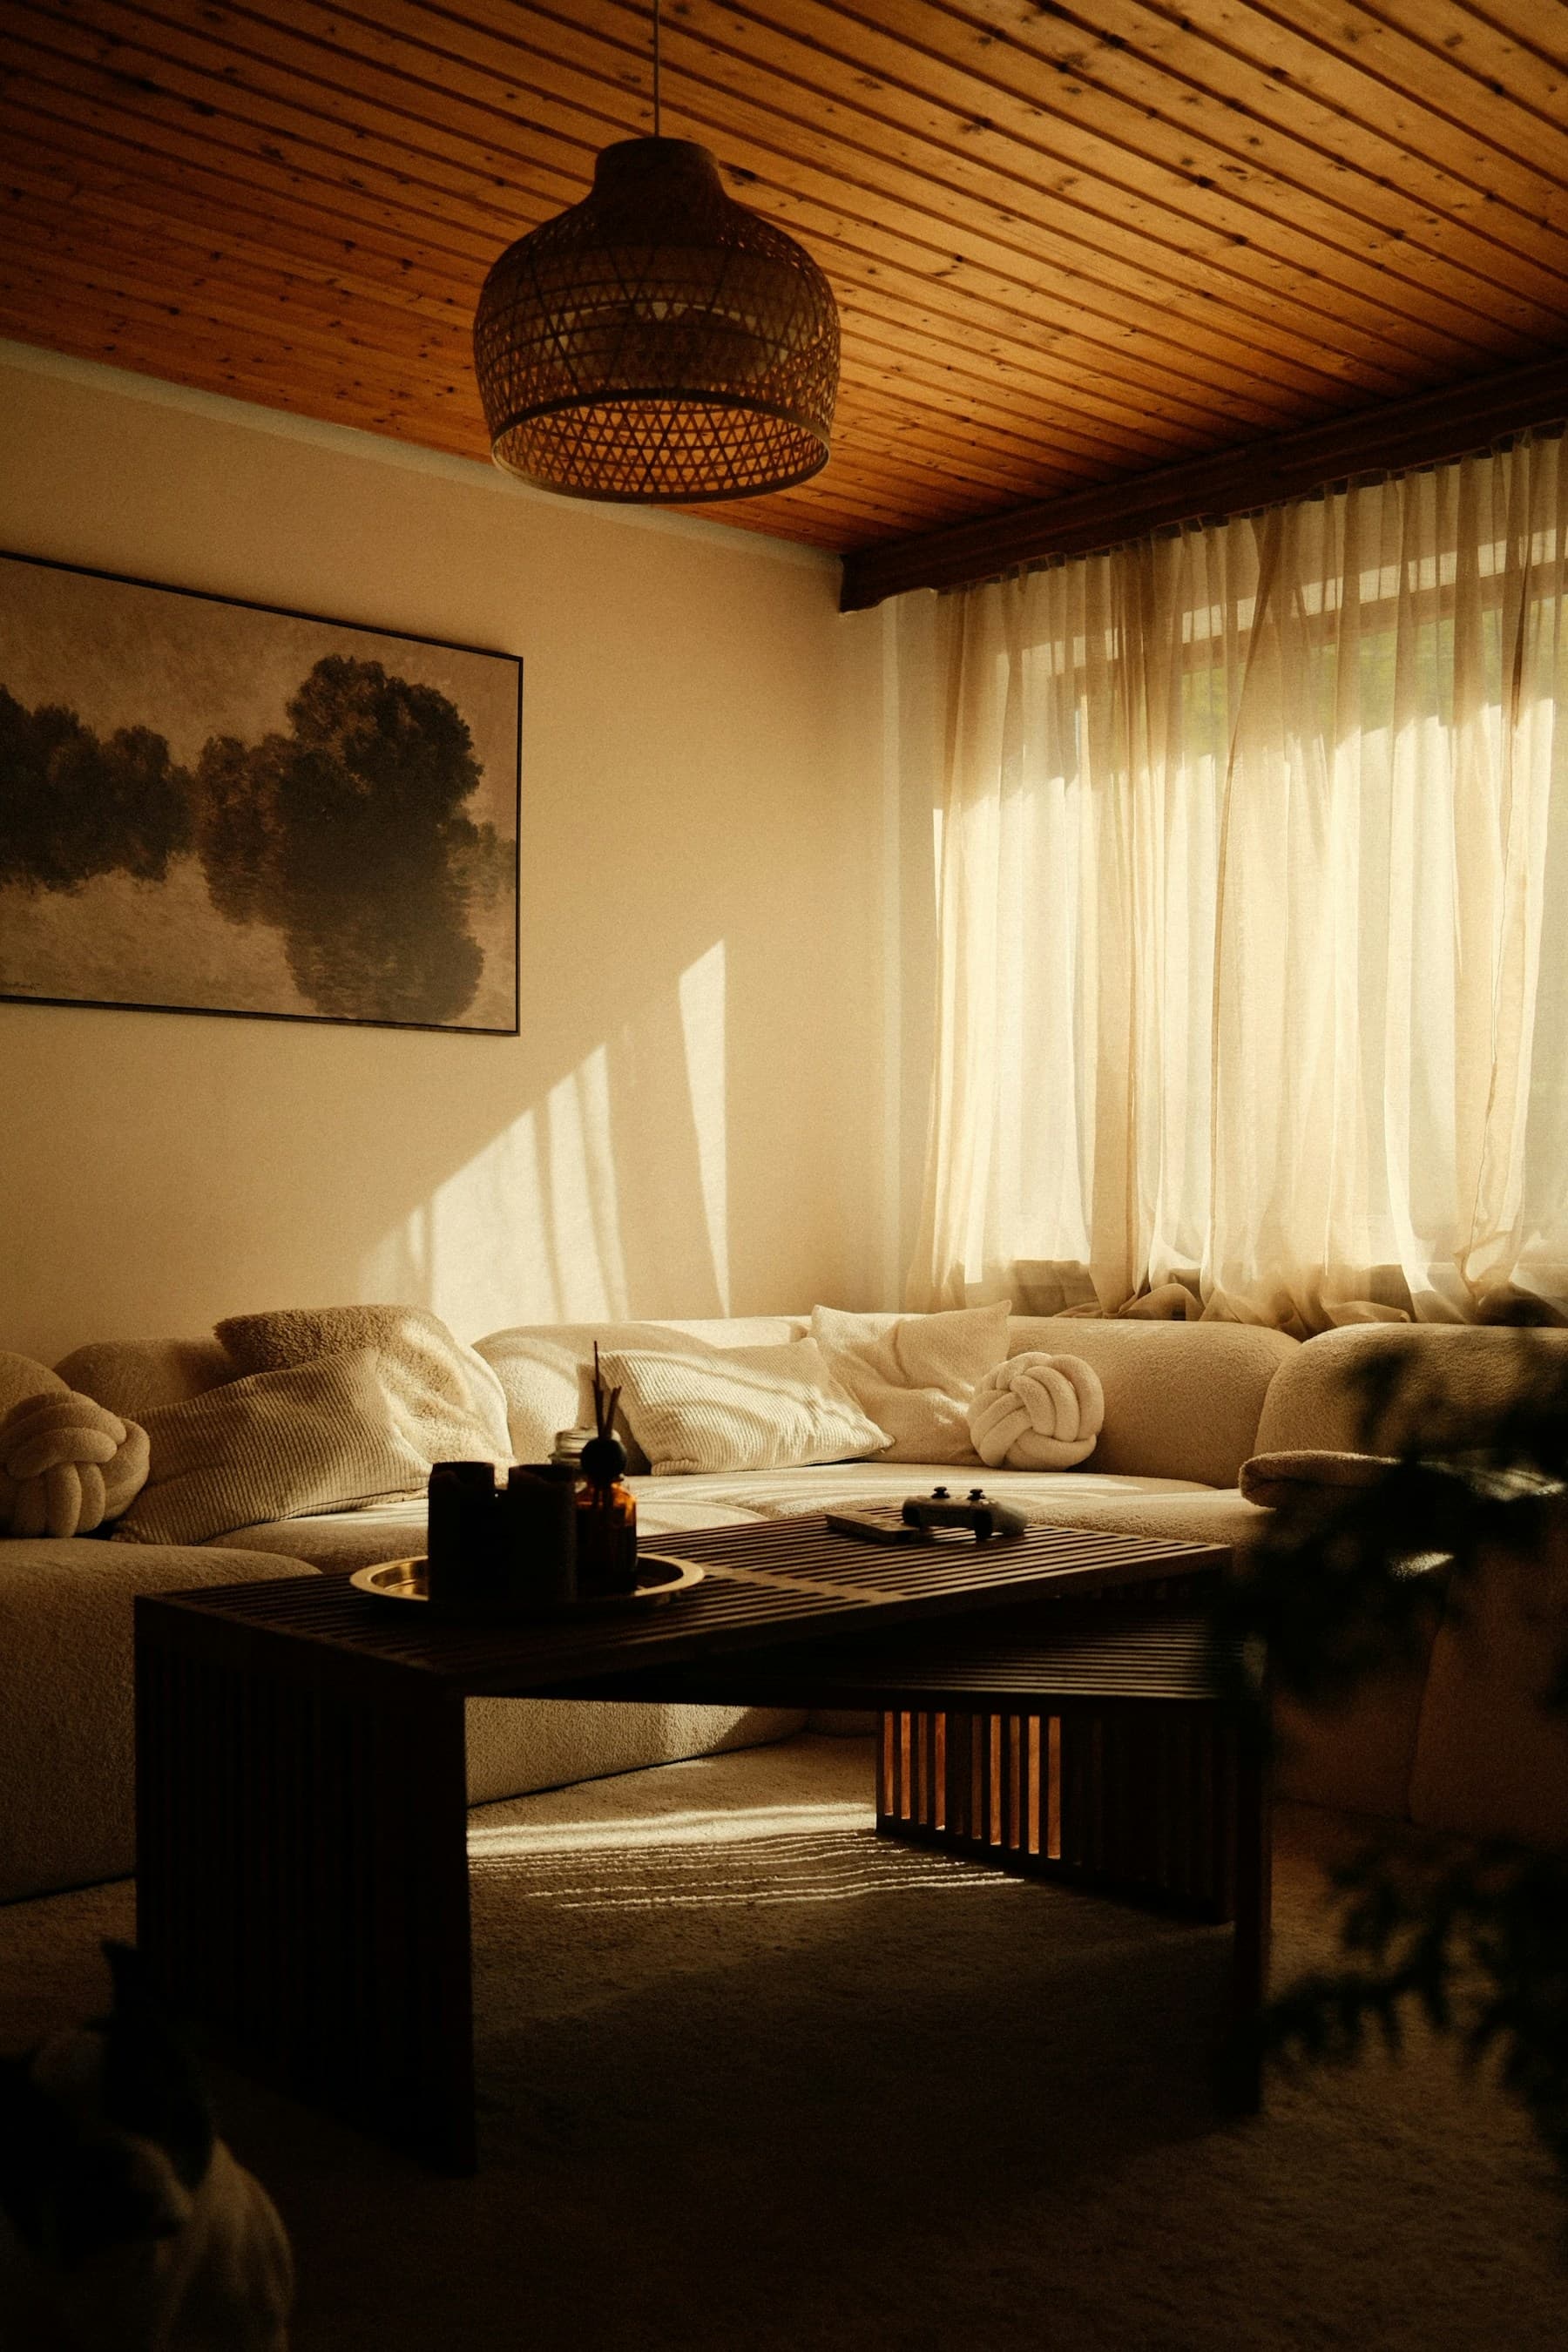
Windows influence daylight, ventilation, comfort, condensation, noise, and appearance, but a cold room can also involve air sealing, HVAC distribution, shading, insulation, or moisture. A useful check separates the observed problem from the product someone wants to sell.
Do not alter egress windows, remove glazing, or work at unsafe heights. Persistent water entry, rotten framing, broken glass, or a window that cannot open for emergency exit may need a qualified evaluation.
The short answer
Start with a room-by-room comfort record and basic maintenance. Replacement decisions should compare the whole opening, installation scope, climate, warranties, and verified product performance—not a headline efficiency claim.
Log comfort in representative weather
Choose a cold, hot, or sunny day and record which rooms feel uncomfortable and when. Note thermostat setting, blinds, nearby vents, and activities before blaming one window.
Inspect accessible basics
Check locks, weatherstripping, visible caulk failure, condensation, and drainage paths without disassembling the unit. Clean tracks and operate windows according to manufacturer instructions.
Identify water or safety conditions
Document stains, soft trim, fogged insulated glass, broken panes, failed locks, and egress concerns. Water or damaged framing requires cause-specific repair before a cosmetic seal.
Compare nonreplacement options
Ask whether weatherstripping, storm windows, shading, air sealing, HVAC balancing, or repair fits the documented problem. Do not seal a required egress or ventilation path.
Use labeled performance data
For replacement candidates, compare NFRC label information, climate guidance, orientation, glazing, frame, and local code needs. Keep assumptions the same across bids.
Compare installed scopes
Ask each provider to specify opening repair, flashing, water management, insulation, interior/exterior trim, disposal, permits, warranty, and lead-safe process where applicable. File photos and final product labels.
Put the guide to work
Field notes
- Compare rooms
- Record temperature, sun, drafts, condensation, furniture placement, and time of day in rooms that feel different.
- Check operation
- Note windows that stick, do not lock, have failed seals, or cannot safely serve their intended ventilation or exit role.
- Read product labels
- If comparing units, use NFRC labels and local energy guidance; do not rely on an unqualified 'energy efficient' claim.
- Ask about installation
- Flashing, water management, trim, insulation, lead-safe practices, and damaged framing can matter as much as the unit itself.
Make the next step useful
Put this guide on your home plan
Know when to call a professional. Stop if work involves active gas leaks, damaged service wiring, structural movement, unsafe heights, suspected contamination, or a problem you cannot confidently isolate.
Editorial review and sources
Reviewed by: Smart Homeowners Editorial Desk
Last reviewed: August 26, 2026
Original Smart Homeowners editorial; not adapted from a third-party article.